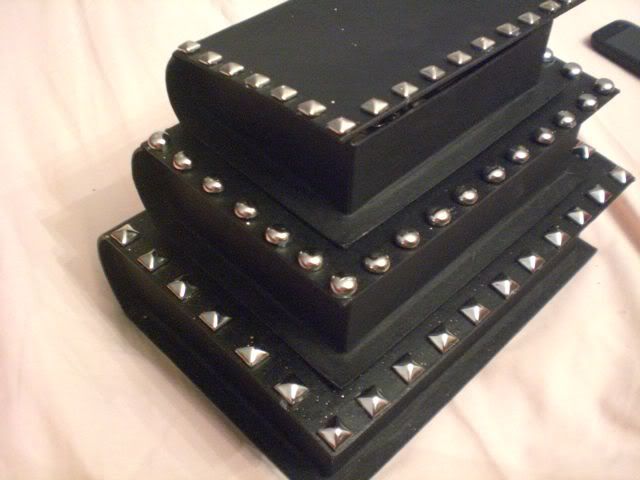
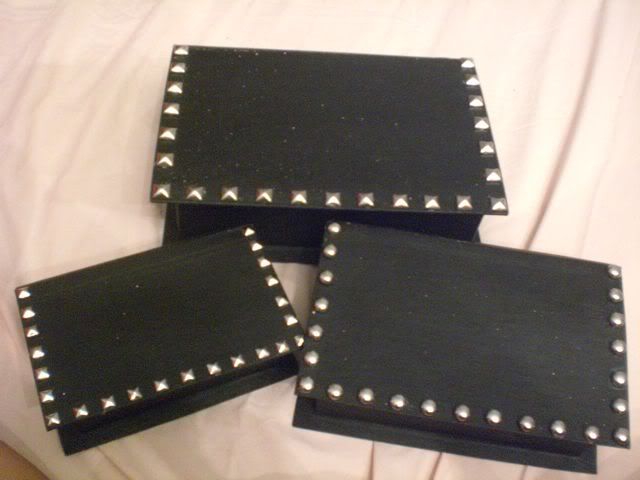
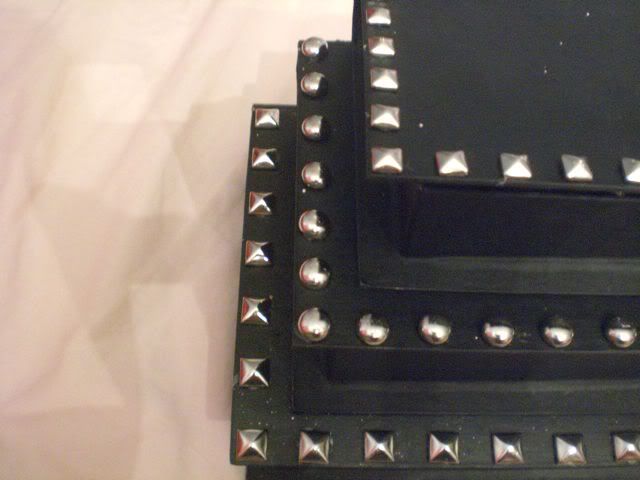
Wooo I got another one of my projects done!
I was inspired to do this by some artwork I saw at Magnolia Cafe in ATX. If you've ever been to this delicious place to eat you know that they feature local artist work and one time they had some artist's work of famous peoples faces all done it glitter which looked really great and my friend Airica and I thought it would be really cool to so something like that. Well this summer I decided to give it a go the first one I did was the lips and I just finished the skulls.
Supplies you need for this project:
-
Foam board with adhesive
-
Glitter in your desired colors (this is standard glitter)
-
Poly-Flake polyester glitter (this is really fine glitter)
-
Elmers glue
-
Razor blade/Exacto knife
-
#0 Paint Brush
-
#8 Bristly Paint Brush
-
Foam Paint Brush
-
Ruler
-
Pen/Pencil
-
Also you might wanna get some newspaper and some large pieces of paper to shake of the excess glitter
Ok so now on to the directions!
For the
Lips Glitter Artwork
Step 1-I cut the foam board in half because I wanted this piece to be pretty big. I used my pencil and ruler to draw a line straight across to make sure it was a straight line all the way across then I used my razor blade to cut it.
Step 2-For this one I drew the image directly on to the adhesive liner. I used a picture of my lips for reference.
Step 3-Once I was done drawing my image I got my razor blade and cut/trace over the image.
Step 4-Lay out your newspaper also get your glue, foam paint brush, and glitter ready. For this one I used red, gold, silver and black.
Step 5- Start with the inner most piece and pull off the adhesive liner. Then pour glue on the area and use the foam brush to evenly spread the glue over the area then pour the glitter all over the area.
Step 6- Let the glitter dry for a bit and then shake of the excess glitter off and repeat the process until all the areas are covered in glitter.
Step 7-Lastly let it dry overnight and then you can hang it up!
For the
Skull Glitter Artwork
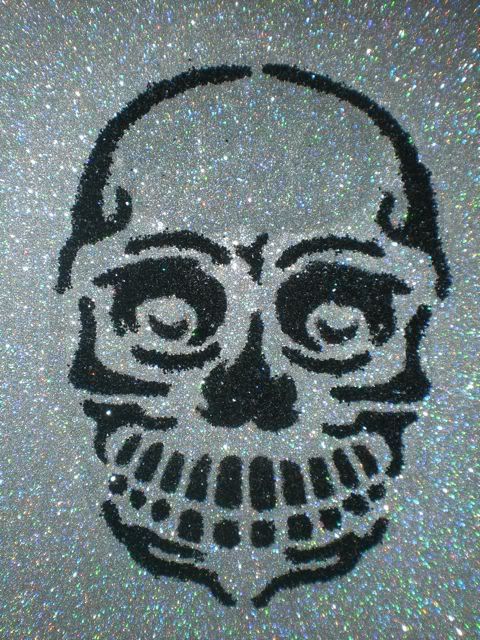 |
| Close up I kinda messed up on the forehead |
|
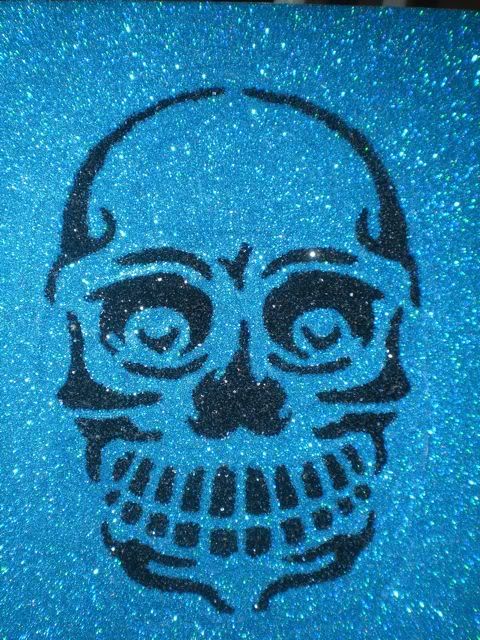 |
| Close up |
|
Step 1-Printed out this skull image that I found you can get it
here. I used the bottom left image and just enlarged it to fit on a piece of paper.
Step 2-Next I cut the foam board to the size of the paper using the ruler and razor blade.
Step 3-Remove the adhesive liner and stick on the piece of paper with image on it.
Step 4-Using the small Paint brush go over the lines of the image with glue and then cover it with black standard glitter. Start from the top working your way down to the bottom.
Step 5-Once your done covering the skull image with glitter let it dry over night or for a few hours. Once its dry get the other paint brush and brush off all the excess glitter.
Step 6-Once again get your paint brush, glue and this time the poly-flake glitter (fine glitter) and start covering the background with it working in small patches from the inside out. I used the foam paint brush for the area around the skull.
Step 7-Lastly let it dry overnight and then you can hang it up!
xoxo